
Guide
How Much Does It Cost To Put A Golf Simulator In A House?
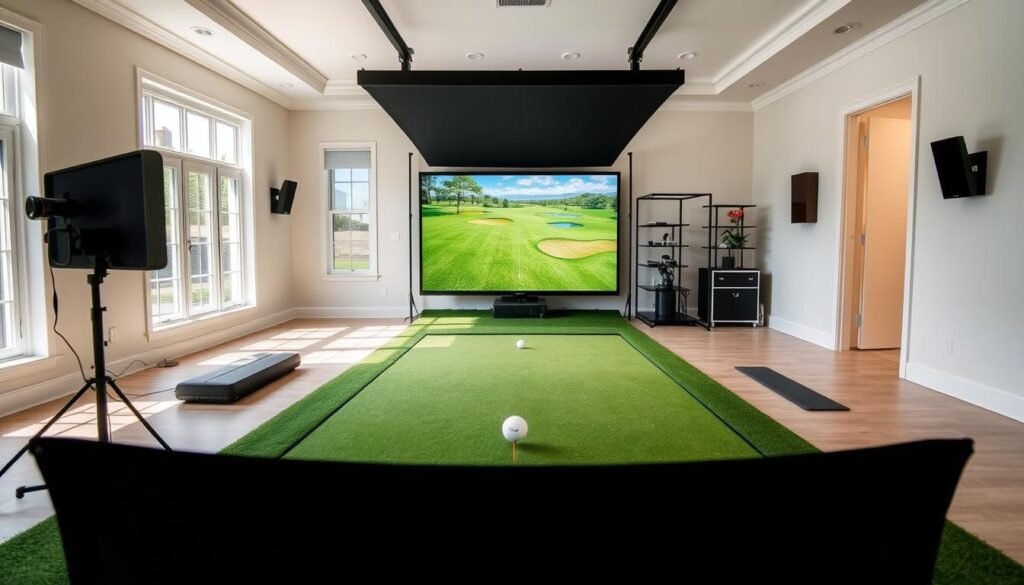
What if you could perfect your swing without stepping onto a course? Modern technology now lets you bring the greens to your living space. But building a realistic practice environment at home involves more than just buying equipment—it’s about balancing quality and budget.
Prices for immersive systems start around $3,000 and climb past $20,000. Budget-friendly choices under $1,000 exist, but many users find them frustrating. Low-quality sensors or inaccurate software can turn practice sessions into guesswork.
Every reliable setup requires five components: a launch monitor, impact screen, projector, hitting mat, and software. Cutting corners on any part affects performance. Premium options deliver precise swing analysis and lifelike course simulations, while cheaper alternatives often lack durability.
Key Takeaways
- Prices range from under $1,000 to over $20,000 based on component quality
- Five essentials determine functionality: monitor, screen, projector, mat, software
- Budget options may sacrifice accuracy and durability
- Total costs include installation, maintenance, and upgrades
- Professional-grade systems offer long-term value for serious players
Why Consider a Home Golf Simulator?
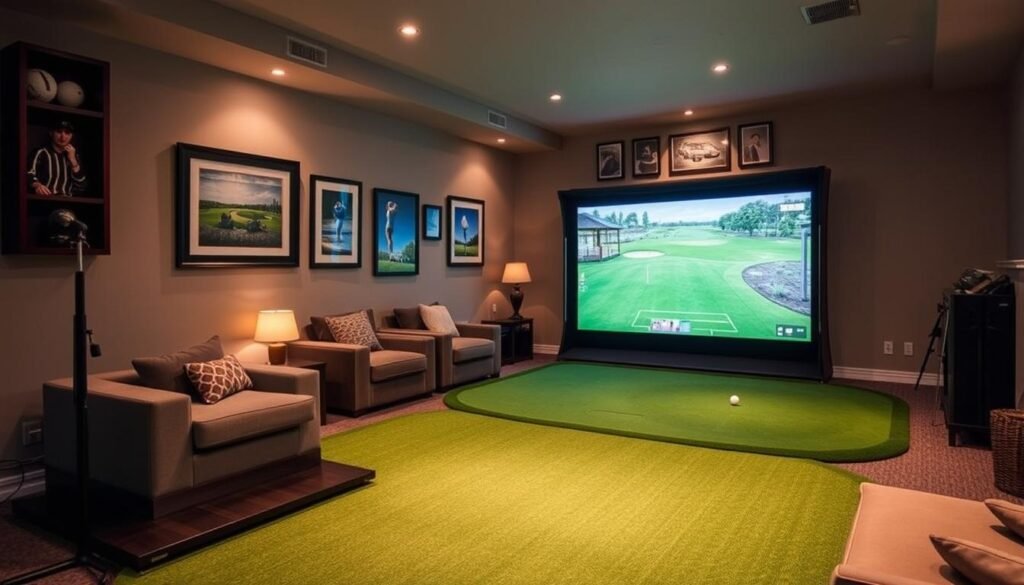
Transform any room into a practice range that never closes. Indoor golf systems let you swing whenever inspiration strikes—no tee times, weather cancellations, or travel hassles. For passionate players, this setup becomes a 24/7 training lab and entertainment hub rolled into one.
The Benefits of Indoor Golfing
Rain or blazing sun won’t interrupt your routine. Detailed swing metrics like club speed and ball spin appear instantly, helping you tweak technique faster than traditional range sessions. Families often repurpose the space for movie nights or virtual mini-golf tournaments when not in practice mode.
Commercial simulator rentals charge $40-$100 hourly in many cities. Over a year, those fees could cover a mid-tier home system. You’ll also save on fuel, course memberships, and off-season golf vacations.
Also read: Golf Simulator: The Ultimate Beginner’s Guide
Understanding the Investment in Your Game
While upfront costs vary, view your simulator as a multi-year upgrade. Unlike perishable gear like balls or gloves, quality components retain functionality through thousands of swings. Regular practice sharpens consistency—a game-changer for lowering handicaps.
Privacy matters too. Experiment with risky shots or replay challenging holes without spectators. Friends can join remotely for virtual matches, blending competition with convenience.
Understanding How Much Does It Cost To Put A Golf Simulator In A House
Building your personal training oasis begins with smart financial planning. Entry-level systems start near $3,000, covering essential components like radar-based monitors and basic enclosures. Mid-tier configurations ($5,000-$10,000) add HD projectors and multi-surface mats for varied practice conditions.
Premium installations reaching $20,000+ incorporate photometric tracking systems and commercial-grade screens. These high-end setups deliver millimeter-perfect swing data and ultra-realistic course simulations. Software subscriptions ($200-$500/year) and replacement mats ($150-$800) add recurring expenses many overlook.
Room preparation often surprises first-time buyers. Electrical upgrades for projector circuits or acoustic paneling can add $500-$2,000. Space requirements matter too—you’ll need 10ft ceilings and 15ft swing depth for full driver use.
Balance your performance needs with available funds. Casual players find value in $4,000 packages, while competitive golfers prioritize $15,000 systems with tournament-grade analytics. Factor in long-term costs like software updates and component replacements when setting your budget.
Also read: How Much Does A Home Golf Simulator Cost?
Essential Components of a Home Golf Simulator
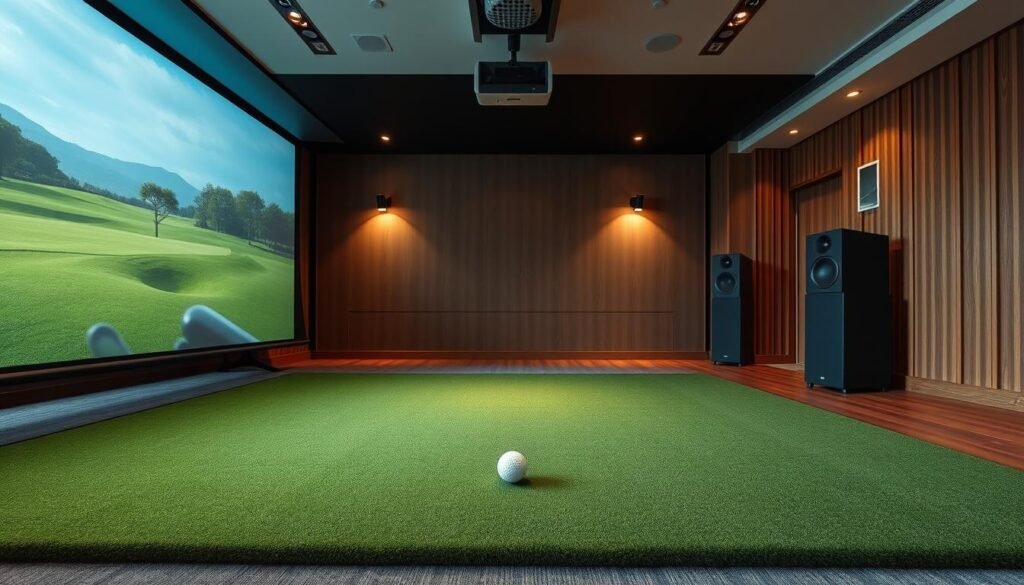
Your simulator’s performance hinges on core hardware and software working in sync. Three elements form the foundation: data-capturing technology, protective structures, and responsive surfaces. Each piece directly affects shot accuracy, safety, and practice realism.
Launch Monitor and Simulator Software
Launch monitors act as your system’s brain. Budget models like the Garmin R10 use radar sensors for basic ball flight metrics. Premium options like TrackMan use dual-radar technology to measure club and ball data in depth.
Software transforms raw data into virtual experiences. Free apps show basic driving ranges, while E6 Connect and GSPro simulate 100+ championship courses. Annual subscriptions often include swing analysis tools and multiplayer modes.
Enclosure, Impact Screen, and Hitting Mats
Durable enclosures prevent wayward shots from damaging walls. Commercial-grade screens absorb 200mph ball speeds without tearing. Pair these with thick hitting mats featuring dual-layer foam – they mimic fairway turf while reducing wrist strain.
Quality matters most in high-traffic areas. SwingTurf mats last 50,000+ swings, whereas bargain options degrade within months. Proper tensioning of impact screens ensures clear projections and extends material lifespan.
Factors That Influence Golf Simulator Pricing
Selecting components for your training space involves more than just price tags—hidden factors shape long-term value. Three elements often determine whether you’ll face upgrade headaches or enjoy seamless practice sessions for years.
Quality, Durability, and Features
High-end launch monitors capture 20+ data points per swing, from face angle to spin axis. Radar-based systems work well for basic analysis, while photometric models like Foresight Sports track millimeter-level details. Premium software adds $300-$800 annually but delivers cinematic course visuals and swing replay tools.
| Feature | Photometric Systems | Radar Systems |
|---|---|---|
| Tracking Technology | High-speed cameras | Doppler radar |
| Key Data Points | Club path, face impact | Ball speed, carry distance |
| Indoor Accuracy | Club and ball data | Ball data |
| Best For | Technical swing analysis | Casual practice |
| Price Range | $5,000-$20,000 | $500-$4,000 |
Durable screens withstand 150+ mph drives without visible wear. Multi-layered hitting mats reduce joint stress during extended sessions. Budget enclosures often lack tension adjustments, causing image distortion over time.
Room Dimensions and Installation Requirements
Your available space dictates equipment options. Rooms under 12ft wide force compromises—narrow enclosures or limited swing arcs. Left-handed players need 12ft+ widths to avoid wall collisions. Ceiling heights below 9ft restrict full driver use.
Professional installers charge $1,500+ for custom framing and electrical work. Retractable screens save space but usually cost more than fixed frames. Uneven floors? Self-leveling turf adds $800-$1,200 to your budget.
Budget Range Analysis for Home Golf Simulators
Navigating the financial landscape of home golf systems requires understanding where your dollars deliver the most impact. Every price tier offers distinct capabilities, from entry-level swing tracking to pro-level analytics.
Economical Options for the Budget-Conscious
Starter packages under $1,000, like the OptiShot 2, focus on club data rather than ball flight. These systems use infrared sensors and foam balls, pairing with basic projection screens. While affordable, they struggle with shot accuracy—expect 10-15 yard distance errors on drives.
Mid-range setups ($3,500-$10,000) balance precision and affordability. SkyTrak launch monitors track real ball flight and work with software like E6 Connect. You’ll get detailed spin rates and realistic course simulations without breaking the bank.
High-End Setups and Custom Builds
Premium systems start at $10,000, featuring ceiling-mounted units like Uneekor’s EYE XO. These capture 3D club movement and ball spin simultaneously. Commercial-grade screens handle 200+ mph drives, while customizable turf mimics any course condition.
Luxury installations surpass $50,000 with theater-grade projectors and climate-controlled enclosures.
Choose components matching your skill level. Casual players thrive with mid-range gear, while competitive golfers need pro-level data. Remember: higher initial costs often mean lower long-term upgrade expenses.
Also read: How Much Does A Home Golf Simulator Cost?
Exploring Equipment Options and Features
Elevate your game with equipment that captures every detail of your swing. Premium systems combine precision tracking with immersive visuals, turning spare rooms into high-tech training centers. Let’s break down the gear that separates casual setups from tour-level analytics.
Advanced Launch Monitors and Projector Systems
Top-tier launch monitors like the Foresight GCQuad analyze both ball and club dynamics. Its high-speed cameras capture spin rates, face angles, and impact positions, and it runs on battery power, so you can practice without an outlet nearby.
Projectors define your visual experience. Models like the BenQ LK936ST deliver 4K resolution at 5,000 lumens—clear enough for daylight viewing. Look for under-16ms input lag to sync swing motions with on-screen action instantly. High-end systems include lens shift adjustments to fit odd-shaped rooms.
| Feature | Entry-Level | Premium |
|---|---|---|
| Resolution | 1080p | 4K HDR |
| Brightness | 3,000 lumens | 5,000+ lumens |
| Input Lag | 30ms | |
| Lens Options | Fixed | Zoom/Shift |
Software integrations take realism further. GSPro’s physics engine replicates wind effects and turf interactions across 200+ courses. Multiplayer modes let you challenge friends globally, while swing replay tools highlight flaws in your mechanics.
Premium hitting mats matter more than you’d think. Triple-layer designs from FiberBuilt reduce joint stress during 500-swing sessions. Some mimic rough textures or bunker sands, adapting to specific course conditions.
Comparing DIY vs. Professional Simulator Setups
Building your golf practice space offers two paths: hands-on creation or expert-guided precision. Self-installed systems empower customization, while professional teams handle technical complexities. Your choice depends on budget, technical skills, and desired polish.
Benefits of a DIY Approach
DIY enclosure kits such as Carl’s Place cost less than prebuilt solutions. You control every detail—screen size, turf type, monitor placement. Compatible components from different brands let you prioritize features like swing analysis or course variety.
Basic electrical skills and tools like drills suffice for most setups. Enclosure framing takes 4-6 hours with pre-cut materials. Calibration guides help align sensors and projectors.
When to Seek Professional Installation
Ceiling-mounted monitors and curved screens demand specialized expertise. Installers handle structural reinforcements, light calibration, and software optimization. They troubleshoot issues like radar interference from nearby electronics.
| Factor | DIY Setup | Professional Setup |
|---|---|---|
| Cost | $1,000-$8,000 | $5,000-$25,000+ |
| Time Investment | 10-30 hours | 4-12 hours |
| Required Skills | Basic construction | None |
| Customization | Full control | Consultation-based |
| Warranty Coverage | Component-only | Full system |
Complex rooms with sloped ceilings or limited outlets benefit from pro services. A professional installer can also handle projector alignment and calibration, which many DIY builders find the hardest part.
Tips for Maximizing Value and Longevity
Protecting your practice setup requires smart habits and strategic upgrades. Proper care extends component lifespan while maintaining shot-tracking precision over thousands of swings.
Maintenance and Upkeep Strategies
Premium hitting mats like SIGPRO reduce joint strain and last longer than bargain options. Rotate your mat regularly to distribute wear—the area you hit from most shows thinning first. Wipe surfaces after sessions to prevent dirt from degrading turf fibers.
Inspect impact screens monthly for loose stitching or dead spots. Use microfiber cloths to remove dust from projector lenses every 60-90 days. Software updates often include swing analysis improvements—enable auto-downloads to stay current.
| Component | Premium Care | Budget Care |
|---|---|---|
| Hitting Mats | Rotate quarterly, vacuum weekly | Replace annually |
| Screens | Professional tensioning | DIY patching |
| Projectors | Filter replacements | Compressed air |
Climate-controlled spaces prevent adhesive failures in enclosures. Portable systems benefit from UV-resistant storage bags. Upgrade individual parts over time—swap launch monitors before screens to maximize data accuracy.
FAQ
What factors affect the total cost of a home golf simulator setup?
Pricing depends on components like launch monitors (SkyTrak vs. Foresight Sports), software features (E6 Connect vs. TGC 2019), enclosure quality, and room size. Higher-end projectors, durable impact screens, and premium hitting mats also influence expenses.
What are the essential components needed for a reliable setup?
Core elements include a launch monitor (like Uneekor Eye Mini), simulator software, an impact screen (Carl’s Place), an enclosure, and a hitting mat. Optional upgrades involve 4K projectors (Optoma) or swing-analysis tools for advanced feedback.
How does room size influence installation requirements and pricing?
Minimum space is typically 10’W x 12’L x 9’H. Larger rooms may require expanded enclosures or higher-brightness projectors, increasing costs. Tight spaces might limit swing freedom, affecting mat placement and screen positioning.
What budget range should you expect for different quality tiers?
Entry-level setups start around $3,000 with basic monitors and DIY screens. Mid-tier builds ($5,000–$10,000) add professional software and durable mats. Luxury systems ($20,000+) feature commercial-grade tech like TrackMan or Full Swing kits.
Are DIY installations more cost-effective than professional setups?
DIY projects save on labor but demand time and technical skill. Prepackaged bundles (from brands like TruGolf) simplify assembly, while custom installations ensure optimal performance but raise expenses due to expert calibration and materials.
How can you maintain your simulator to ensure long-term value?
Clean impact screens regularly to prevent wear, rotate hitting mats to avoid uneven surfaces, and update software for new courses. Check launch monitor lenses for dust and ensure projector bulbs are replaced as needed.
Do real-world examples show significant differences in user experiences?
Yes. Budget setups often struggle with limited ball-flight data or screen durability, while premium builds replicate real-course play. User reviews highlight brands like Bushnell for accuracy and FiberBuilt for turf longevity in diverse home environments.