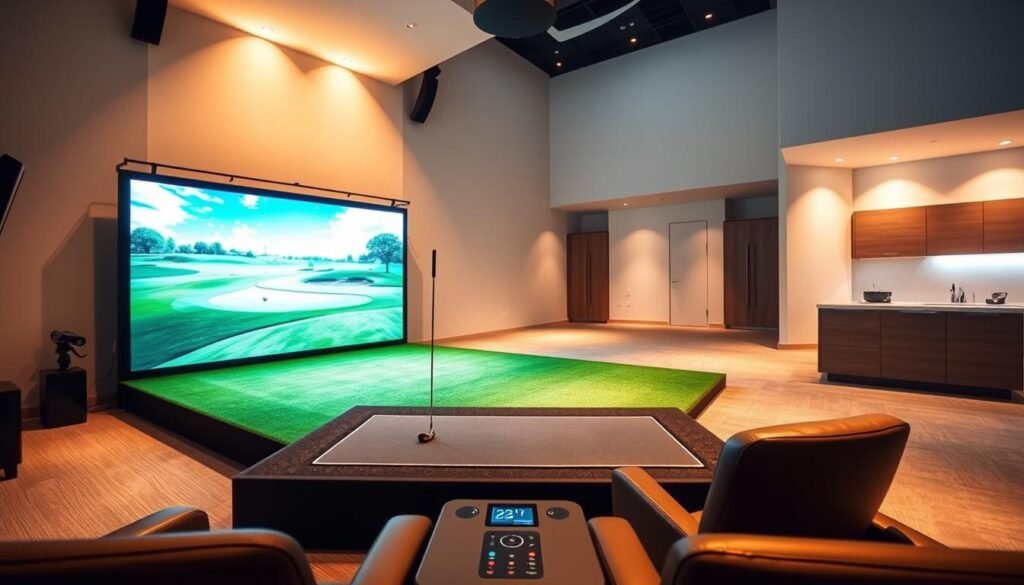
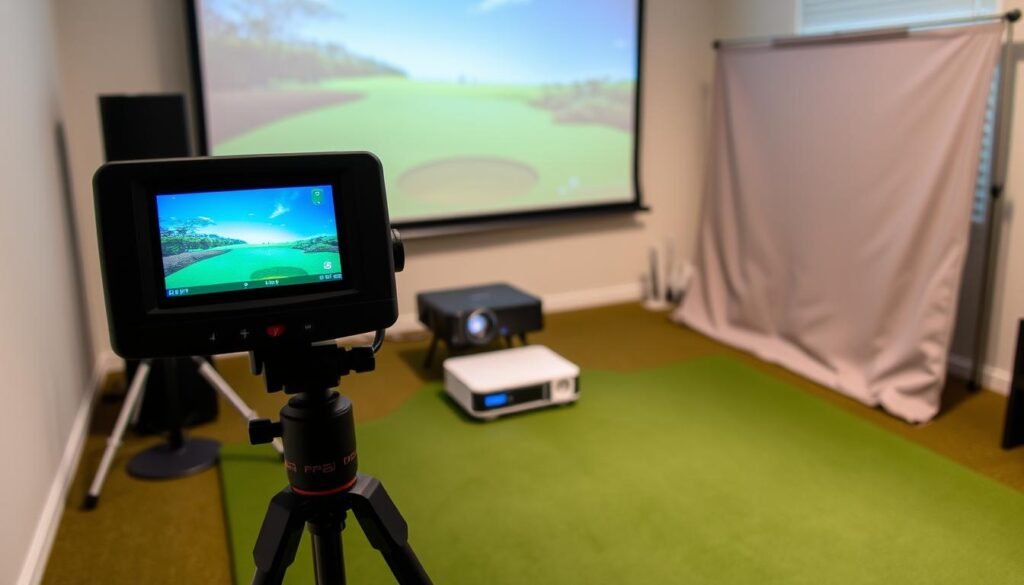
Ever wonder why some golfers invest more in their practice setup than their actual clubs? The world of home golf simulators offers everything from garage-friendly kits to pro-level installations, but finding your sweet spot between budget and performance requires smart navigation.
Prices start under $1,000 for basic sensor mats and climb past six figures for commercial-grade systems. Most enthusiasts find meaningful value between $3,000-$20,000—a range covering accurate swing analysis, realistic ball flight physics, and durable impact screens. Your space dimensions, skill level, and entertainment goals all steer the final cost.
Entry-level bundles ($2k-$4k) work for casual practice, while mid-range setups ($5k-$10k) add club-tracking cameras and customizable software. High-end configurations ($10k+) deliver tournament-grade analytics and immersive virtual courses. Hidden expenses like subscriptions, lighting adjustments, or flooring upgrades often surprise first-time buyers.
Key Takeaways
- Quality simulator systems span from $2,000 starter kits to $25,000+ luxury installations
- Component quality and space requirements dramatically impact total costs
- Budget categories align with usage: casual practice vs professional training vs entertainment
- Software subscriptions and maintenance contribute to long-term ownership expenses
- Premium features like multi-sensor tracking increase accuracy (and price)
Overview of Golf Simulators and Their Benefits
Rain or shine, your golf game doesn’t have to take a day off. Modern systems blend cutting-edge tech with user-friendly designs, letting you play Pebble Beach or analyze swing flaws from your living room. Let’s break down how these setups work and why they’re changing how players train.
What Is a Golf Simulator?
A golf simulator combines hardware and software to replicate real-course conditions. High-speed cameras track your clubhead speed and ball spin, while infrared sensors measure launch angles. The data feeds into software that projects your shot’s path onto a screen, complete with virtual fairways and greens.

Advantages of a Home Golf Simulator
Practice becomes instant and unlimited. No driving ranges or booked tee times—just swing when inspiration strikes. Immediate feedback on metrics like carry distance helps refine technique faster than traditional methods.
These systems also turn practice into entertainment. Compete in virtual tournaments with friends or try mini-games that sharpen accuracy. Over time, reduced greens fees and lesson costs offset the initial investment.
Weatherproof training means year-round progress. Snowstorms or summer heat won’t interrupt your routine. Plus, family members can join the fun, making it a versatile addition to any home.
Understanding the Essential Components
Building your practice hub starts with knowing what makes it tick. Every piece plays a distinct role in replicating course conditions indoors. Let’s explore the core parts that transform swings into data and screens into fairways.

Launch Monitors, Impact Screens, and Projectors
The launch monitor acts as your digital caddie. Budget models ($600+) measure basic ball speed and carry distance, while premium units ($5k+) track clubface angle and spin rates. One golf tech expert notes:
“Mid-range monitors now deliver tour-level accuracy for 80% less than pro systems.”
Impact screens absorb shots while displaying virtual courses. Heavy-duty polyester ($400+) lasts longer than cheaper nets and handles high-speed drives. Pair it with a short-throw projector ($1,200+) to avoid shadows. Brightness above 3,000 lumens keeps images clear in lit rooms.
Hitting Mats and Enclosures Explained
Your stance surface matters more than you think. Thin mats ($50) risk wrist strain, while premium turf ($300+) mimics real fairway give. Look for shock-absorbing layers if you practice daily.
Enclosures turn chaos into control. Framed nets ($800+) stop stray shots better than DIY curtains. Modular panels let you adjust room layouts later. Add side netting if left-handed friends might visit.
Balance costs by prioritizing needs. Casual players can skimp on enclosures but not monitors. Serious competitors should invest in dual radar-camera tracking systems. Your goals dictate where premium features pay off.
How Much Should I Spend on a Golf Simulator
Creating an effective practice environment requires strategic budget allocation. Start by identifying components that directly impact performance. Launch monitors claim 30-40% of most budgets due to their role in swing analysis. One industry expert advises:
“Never compromise on ball-tracking accuracy – it’s the foundation of meaningful practice.”

Budgeting for Key Components
Mid-range systems ($3,000-$5,000) balance functionality and cost. Allocate funds like this: 40% for tracking technology, 25% impact screen/projector, 20% hitting mat, 15% enclosure. This distribution ensures reliable data capture while maintaining durability.
Consider future upgrades during initial purchases. Choosing software with course expansion packs saves money long-term. Modular enclosures let you add side barriers later as skills improve.
Comparing Basic and Advanced Setups
Entry-level packages focus on core metrics like ball speed and launch angle. The $10,000+ tier introduces clubhead tracking and virtual coaching. Premium systems analyze grip pressure and weight shift – crucial for competitive players.
Installation costs often surprise buyers. Professional calibration adds $500-$1,500 but ensures precise measurements. Financing plans help spread payments over 12-36 months, making advanced features more accessible.
Breakdown of Costs for Golf Simulator Essentials
Smart budgeting starts with understanding what each piece contributes to your setup. Component prices vary widely based on accuracy, durability, and tech features. Let’s explore where your dollars go when building a practice space.
Launch Monitor and Simulator Software Costs
Your launch monitor acts as the system’s brain. Budget models like the Garmin R10 ($599) track basic ball flight metrics. Mid-tier options such as SkyTrak+ ($2,995) add club path data. Premium units like TrackMan 4 ($18,900) deliver professional-grade spin analysis.
| Monitor Tier | Price Range | Key Features |
|---|---|---|
| Entry-Level | $500-$2,000 | Ball speed, carry distance |
| Mid-Range | $2,000-$7,000 | Club path, face angle |
| Professional | $7,000+ | Spin axis, impact location |
Software subscriptions range from free driving-range apps to premium platforms. GSPro ($250/year) offers 200+ courses, while E6 Connect ($300-$1,200/year) includes multiplayer modes. Annual fees add 10-15% to long-term costs.
Enclosure, Mats, and Projector Prices
Durable enclosures start at $1,000 for basic netting. Premium kits ($4,000-$6,000) feature tensioned screens and frame systems. Hitting surfaces matter too – cheap mats wear out fast, while fiber-built turf ($650+) reduces joint strain.
Projectors need brightness to combat glare. Entry-level models ($400) work in dark rooms, but 4K units ($2,500+) shine in daylight. Short-throw designs prevent shadows during swings.
- Basic enclosure: $1,000-$2,500
- Tournament-grade mat: $500-$1,200
- 4K projector: $1,800-$5,000
Exploring Budget-Friendly Home Simulator Options
You don’t need a pro budget to enjoy realistic golf practice at home. Strategic component selection and creative solutions make home golf simulators accessible for casual players and families. Let’s explore setups that balance cost and quality.
Low Budget Setups and DIY Choices
Entry-level packages ($2,000-$4,000) deliver core functionality. Focus on these essentials:
- Optical launch monitors like the Rapsodo MLM ($500) for basic ball tracking
- Carl’s DIY enclosure kits ($800) with netting and frame parts
- Short-throw projectors under $1,000 with 1080p resolution
DIY approaches slash costs by 30-40%. Build your impact screen using heavy-duty polyester from hardware stores. Use foam tiles instead of premium turf mats initially. One simulator owner shares:
“We built our first setup for $2,700 using refurbished parts – works better than expected.”
Mid-Tier Systems for Better Performance
The $5,000-$10,000 range upgrades accuracy and durability. Consider these improvements:
| Component | Budget Option | Mid-Tier Upgrade |
|---|---|---|
| Launch Monitor | Basic ball tracking | Club path analysis |
| Projector | 1080p | 4K with 3,500 lumens |
| Software | Free driving range | 10+ virtual courses |
Prioritize radar-based monitors like SkyTrak+ for detailed swing feedback. Modular enclosures let you add side barriers later. Certified refurbished equipment from authorized dealers offers warranty protection at lower prices.
Premium and Luxury Golf Simulator Setups
Step beyond standard practice tools into a realm where technology meets tour-level precision. Premium installations transform spare rooms into immersive training centers, blending cinema-quality visuals with pro-grade analytics. These systems cater to serious players seeking every competitive edge.
High-End Components and Advanced Features
Top-tier setups use dual sensor arrays and military-grade radar. TrackMan’s $19,000 launch monitor captures 27 data points per swing, including spin axis and face impact location. Curved 4K screens (180° viewing angles) eliminate distortion at the edges for true-to-life course visuals.
| Component | Premium Systems | Luxury Systems |
|---|---|---|
| Launch Monitor | TrackMan 4 | aboutGOLF 3Trak |
| Screen Type | 16:9 Tensioned | Curved Panoramic |
| Software | 30+ Courses | 200+ Global Courses |
| Projection | Single 4K | Triple Laser |
Advanced software like Full Swing’s Pro Series offers virtual caddie advice and wind condition simulations. One PGA coach notes:
“Luxury systems reveal swing flaws even high-end club fittings miss.”
Commercial-Grade and Custom Installations
Custom builds start at $50,000, featuring automated retractable screens and acoustic paneling. The aboutGOLF aG Curve pairs three tracking cameras with 10.2 surround sound for tournament atmospheres. Multi-projector setups ($85,000+) create seamless 360° environments.
Integrated climate systems maintain optimal humidity for ball flight consistency. These installations often require professional calibration – a $5,000-$15,000 service ensuring millimeter-perfect sensor alignment.
While pricey, commercial-grade durability means 10+ years of daily use. Warranties often cover 24/7 support and priority software updates. For elite players and luxury estates, these systems deliver unmatched realism and long-term value.
Factors to Consider Before Your Purchase
Before finalizing your golf simulator purchase, several practical factors demand attention. Balancing technical specs with your available environment ensures optimal performance and long-term satisfaction.
Space, Room, and Ceiling Requirements
Your available area dictates what systems fit. Most setups need at least 10’W x 15’L x 9’H for full swings. Low ceilings cause incomplete follow-throughs, while narrow rooms limit left/right ball flight visibility.
Measure diagonally from hitting mat to screen. Taller players often require 10-foot ceilings. Consider swing plane variations between clubs – drivers need more overhead clearance than wedges.
Software, Maintenance, and Upgrade Costs
Subscription-based platforms add $200-$1,000 annually. Cloud storage for swing videos or course downloads increases monthly fees. Factor in projector bulb replacements ($150-$400) and mat rotation schedules.
Future-proof your investment with modular components. Software updates might require newer hardware over time. Budget 15-20% of initial costs for annual upkeep and tech advancements.