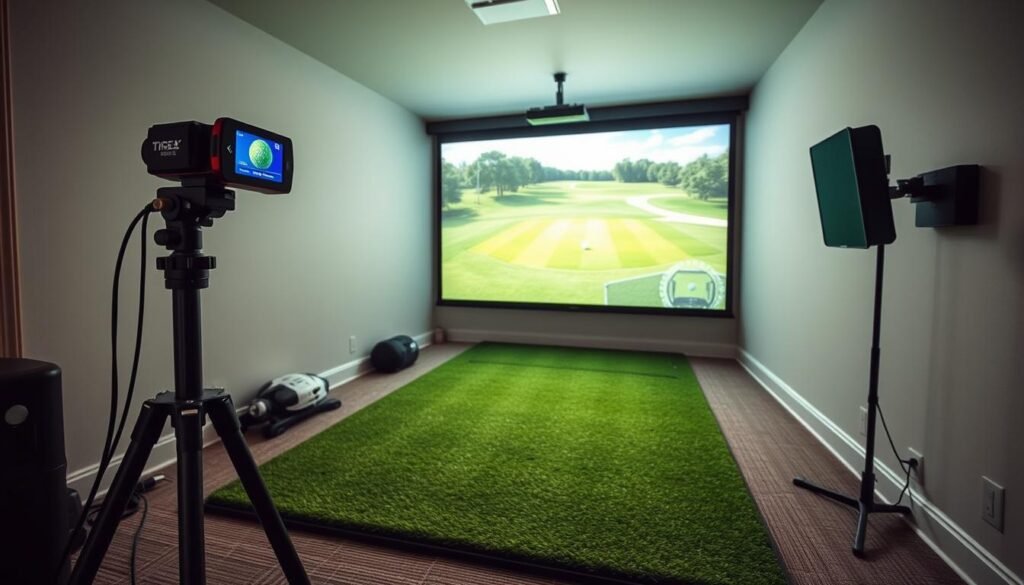
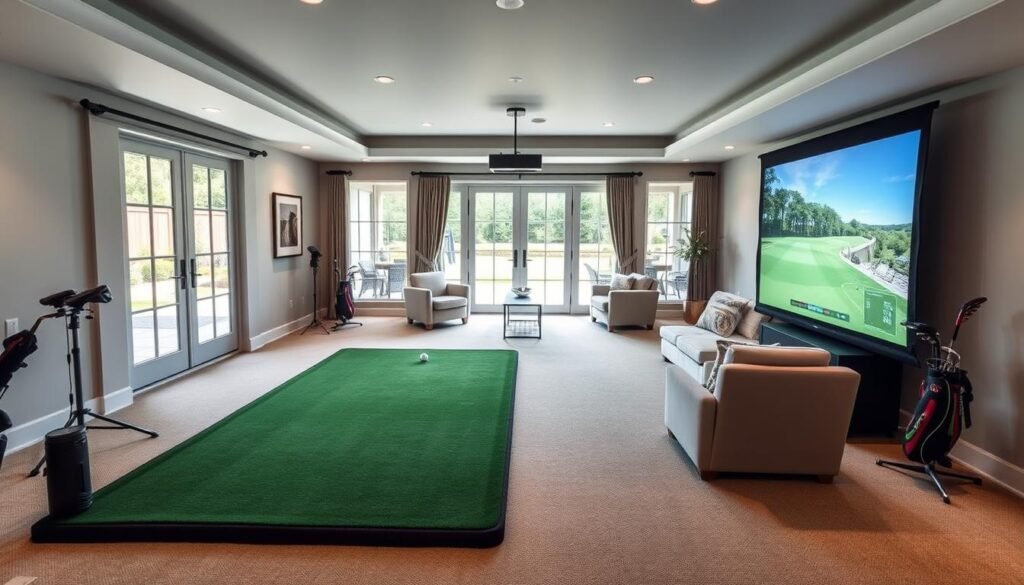
What if your dream of perfecting your swing at home hinges on a single foot of space? While golf simulators have revolutionized indoor practice, many players underestimate how spatial efficiency trumps raw square footage. You’ve likely seen setups in garages or basements, but turning a 144-square-foot area into a functional training zone requires strategic planning.
Ceiling height is your first hurdle. Most systems demand at least 9-10 feet for unrestricted swings, but even modest spaces can work with angled driver adjustments. Depth matters too—while 18 feet is ideal for full ball flight, countless golfers achieve realistic results in 15-foot zones. Your 12-foot depth isn’t a dealbreaker if you prioritize equipment positioning and sensor calibration.
Width presents another consideration. A 12-foot span allows comfortable stance adjustments, though left-handed players might need mirrored layouts. Professional installers often use retractable screens or corner-mounted projectors to maximize tight areas. Remember: basements and spare rooms frequently become successful simulator spaces through smart tech choices, not just dimensions.
Key Takeaways
- Minimum 9-foot ceilings prevent club damage during swings
- Creative screen placement compensates for limited depth
- Portable launch monitors adapt better to compact layouts
- Wall-mounted sensors save floor space in narrow rooms
- Multi-directional hitting mats accommodate varied stances
Measuring Your Indoor Golf Simulator Room
Precision matters when transforming spare areas into practice-ready zones. Three measurements separate functional setups from claustrophobic swings: vertical clearance, side margins, and ball flight depth. Start with a tape measure, but remember numbers alone won’t capture the feel of unrestricted motion.
Checking Room Dimensions: Height, Width, and Depth
Record measurements at multiple points to account for uneven ceilings or walls. For width, measure left-to-right while considering handedness: 14 feet accommodates dual stances. Depth requires balancing professional recommendations (18 feet ideal) with real-world adaptations (15 feet works).
DepthDEPTH15 feet18 feet
| Measurement | Minimum | Recommended |
|---|---|---|
| Ceiling Height | 9 feet | 10 feet |
| Width | 12 feet | 14 feet |
“Tape measurements show possibilities; swing tests prove them.”
Using Your Longest Club to Test Swing Space
Your driver becomes the ultimate test tool. Grip it normally and execute full-speed swings. If you flinch near walls, recalibrate your layout. Psychological comfort matters as much as physical clearance.
Also read: How Much To Have A Golf Simulator Installed?
Is A 12X12 Room Big Enough for A Golf Simulator
Creating an effective golf practice area in tight spaces demands smarter solutions than simply chasing square footage. While standard recommendations favor larger rooms, your 144-square-foot zone can deliver professional-grade training through strategic adjustments.

Evaluating Compact Space Requirements for a Simulator
Your 12-foot width challenges centered tee placement but unlocks creative solutions. Position the hitting mat 3-4 feet from one wall, creating 8-9 feet of swing clearance on your dominant side. This asymmetrical layout works seamlessly for right- or left-handed players.
- Offset tee positions maximize dominant-side swing arcs
- 7-foot safety buffer prevents wall contact during follow-through
- Square dimensions allow multidirectional screen arrangements
Industry professionals confirm the viability: “We’ve installed over 300 systems in 10×12 spaces using corner-mounted projectors and foldaway screens,” notes a Michigan-based installer. Retractable enclosures and wall-hugging sensors become essential allies in confined areas.
Your room’s equal-length walls offer hidden perks. Unlike narrow spaces, square layouts permit diagonal screen placements that visually expand the virtual course. Pair this with low-profile launch monitors that tuck neatly beside your stance zone.
“Square rooms let us cheat the dimensions – diagonal screen angles create deceptively spacious feels.”
Understanding Swing Space and Safety
Your swing’s power comes from unrestricted motion, but that freedom carries risks in tight quarters. While simulator tech fits in snug areas, practice sessions demand collision-free movement and reliable ball containment. Ignoring these factors turns your golf haven into a hazard zone.
Allowing Enough Space for a Full Backswing
A 7-foot radius around your stance isn’t just a suggestion—it’s physics. Drivers need this clearance to avoid wall strikes during aggressive follow-throughs. Offset your hitting mat 4 feet from one side wall, creating dominant-side clearance without sacrificing ball flight tracking.
- Position sensors diagonally to capture data in compressed zones
- Use impact-absorbing panels on vulnerable wall sections
- Test swing arcs with your longest club before finalizing layouts
Preventing Golf Ball Ricochets with Proper Buffer Zones
Balls rebound fastest when screens sit flush against walls. Install your impact screen 16 inches forward from the rear wall, creating a dead zone for misfired shots. This gap reduces bounce-back velocity by 40-60%, according to indoor testing labs.
“Buffer zones aren’t optional—they’re your last line of defense against head-level ricochets.”
Mental space matters too. Confidence in your swing path prevents hesitation-induced bad habits. Leave 18 inches behind your stance for error recovery—a crucial margin when drills go wild.
Also read: Golf Simulator: The Ultimate Beginner’s Guide
Optimal Room Layout for Your Simulator
Transforming a compact zone into a functional practice environment requires spatial chess moves. Every inch counts when balancing swing freedom with accurate ball tracking. Start by mapping your screen placement and stance zones before adding secondary elements.

Positioning the Tee and Impact Screen
Mount your screen 12-16″ from the back wall to absorb errant shots. This buffer reduces bounce-back force while maintaining 10.5′ of usable depth. Center the screen visually, but shift your hitting mat 3′ left or right for dominant-side swing clearance.
| Layout Element | Compact Setup | Ideal Setup |
|---|---|---|
| Screen Distance | 10.5 ft | 12 ft |
| Tee Position | 8-9 ft | 10-12 ft |
| Side Buffer | 3 ft | 4 ft |
Left-handed players should mirror this arrangement. Test different offsets using alignment sticks before locking down your mat position. “Angled tee placements trick the eye into perceiving more space,” notes a PGA-certified simulator designer.
Arranging Accessories and Seating Area
Wall-mounted racks keep clubs accessible without floor clutter. Use these solutions for tight quarters:
- Folding stools instead of bulky chairs
- Overhead projector mounts
- Magnetic strips for alignment tools
Designate a 4×4′ observation zone opposite your swing path. Portable putting mats can double as temporary seating when rolled up. Always maintain 18″ clearance behind your stance for emergency retreats during wild shots.
“Treat your simulator like a stage—keep the performance area clean and audience zones defined.”
Ceiling Height and Buffer Space Guidelines
Vertical clearance makes or breaks your indoor golf experience. While width and depth get most attention, your upward swing path determines whether practice sessions feel liberating or claustrophobic. Proper planning here prevents costly redos and protects both equipment and confidence.
Maintaining the Recommended 9-10 Foot Ceiling
A 9-foot minimum lets most players swing drivers without hesitation. Taller golfers (over 6′) or those with steep swing planes should aim for 10.5 feet. Measure from floor to ceiling at four room corners and center—ductwork or light fixtures often create uneven clearance.
Installation demands 2-3 inches above your screen frame. This buffer prevents vibrations and allows airflow. An 8.5-foot ceiling? You’ll sacrifice driver practice but gain wedge-work precision. Test with your longest club: if the grip taps overhead surfaces during follow-through, adjust stance position or club selection.
“Three clients last month discovered 8-inch ceiling dips only after swinging—always map your airspace first.”
Ceiling-mounted launch monitors need 9-10 feet for accurate readings. Consider retractable mounts if clearance feels tight. While irons-only practice works short-term, limited driver use often frustrates players aiming for full-game improvement.
Projector and Launch Monitor Setup Tips
Your golf simulator’s performance hinges on pairing precise tech with your room’s limitations. While spatial constraints challenge traditional setups, modern solutions adapt beautifully to compact environments when configured strategically.
Selecting the Right Projector Based on Room Size
Short-throw projectors dominate tight spaces, needing just 4-6 feet from screen to lens. Models like the Optoma GT1090HDR deliver crisp 1080p images in 12-foot rooms. Check throw ratios (0.5:1 ideal) and lumens – 3,000+ prevents washed-out visuals in lit areas.
Meeting Specific Launch Monitor Requirements
Trackman demands 16 feet of ball flight, but alternatives thrive in tighter zones. The FlightScope Mevo+ operates with 8 feet behind the tee, while Full Swing KIT needs 10 feet. Ceiling-mounted units like Uneekor EYE XO require 9.5-foot clearance but eliminate floor space needs.
Always test monitor placements during setup. One golfer discovered his Mevo+ worked at 7.5 feet by angling the hitting mat – proof that creative configurations overcome rigid specs. Your perfect setup lives where technology meets spatial ingenuity.
FAQ
What’s the minimum room size needed for a golf simulator?
A 12×12 room works if you prioritize space efficiency. You’ll need at least 9-10 feet of ceiling height to swing clubs like drivers safely. Ensure 6-8 feet of depth behind the hitting area for launch monitors like SkyTrak or Foresight Sports GC3.
How do I test swing clearance in a compact space?
Use your longest club (driver or 3-wood) to simulate swings. Stand 2-3 feet from the impact screen and check if the clubhead clears walls, enclosures like Carl’s Place Premium, or ceiling-mounted projectors like Optoma GT1080HDR.
Can a full backswing fit in a 12×12 setup?
Yes, but position the tee 8-10 feet from the screen. Left-handed golfers may need extra side buffer zones to avoid ricochets. Net Return Pro or Fiberbuilt Studio enclosures help contain errant shots.
How much buffer space prevents ball rebounds?
Leave 1-2 feet between the screen and walls. Use foam padding or retractable nets on side walls. For overhead protection, consider short-throw projectors like BenQ LK936ST to minimize shadows.
What ceiling height works for most golfers?
Aim for 9-10 feet to accommodate swings with irons and woods. Lower ceilings (8-9 feet) may limit taller players or those using longer clubs. Uneven floors or sloped ceilings require adjustments.
Which projector fits smaller simulator rooms?
Optoma EH412 or Epson CO-FH02 offer bright, short-throw projections for 10-12 foot distances. Pair with impact screens like Par2Pro’s Stealth Retractable to avoid image distortion.
Do launch monitors need specific room conditions?
Radar-based systems like TrackMan require 16+ feet of ball flight, while photometric models (e.g., Bushnell Launch Pro) work in 8-10 feet. Check manufacturer specs for lighting and alignment needs.